The Settings section in Orgnyz lets you configure everything about your restaurant, from basic details to menus and printing preferences. You can access it from the left navigation menu.
Settings Menu Options
Under Settings, you’ll see these options:
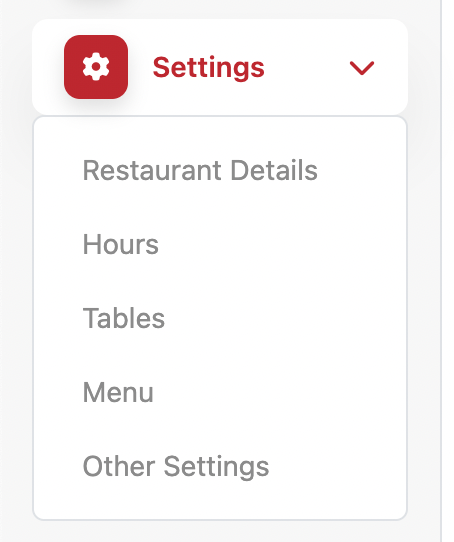

Restaurant Details: Update your restaurant information, tax details, and government registrations.
Hours: Set your opening and closing hours for each day of the week.
Tables: Manage your table layout and seating by zones/floors.
Menu: Add and edit menu categories, items, sizes, and add-ons.
Other Settings: Configure system options like print preferences.
Restaurant Details
This section stores the basic details of your restaurant.
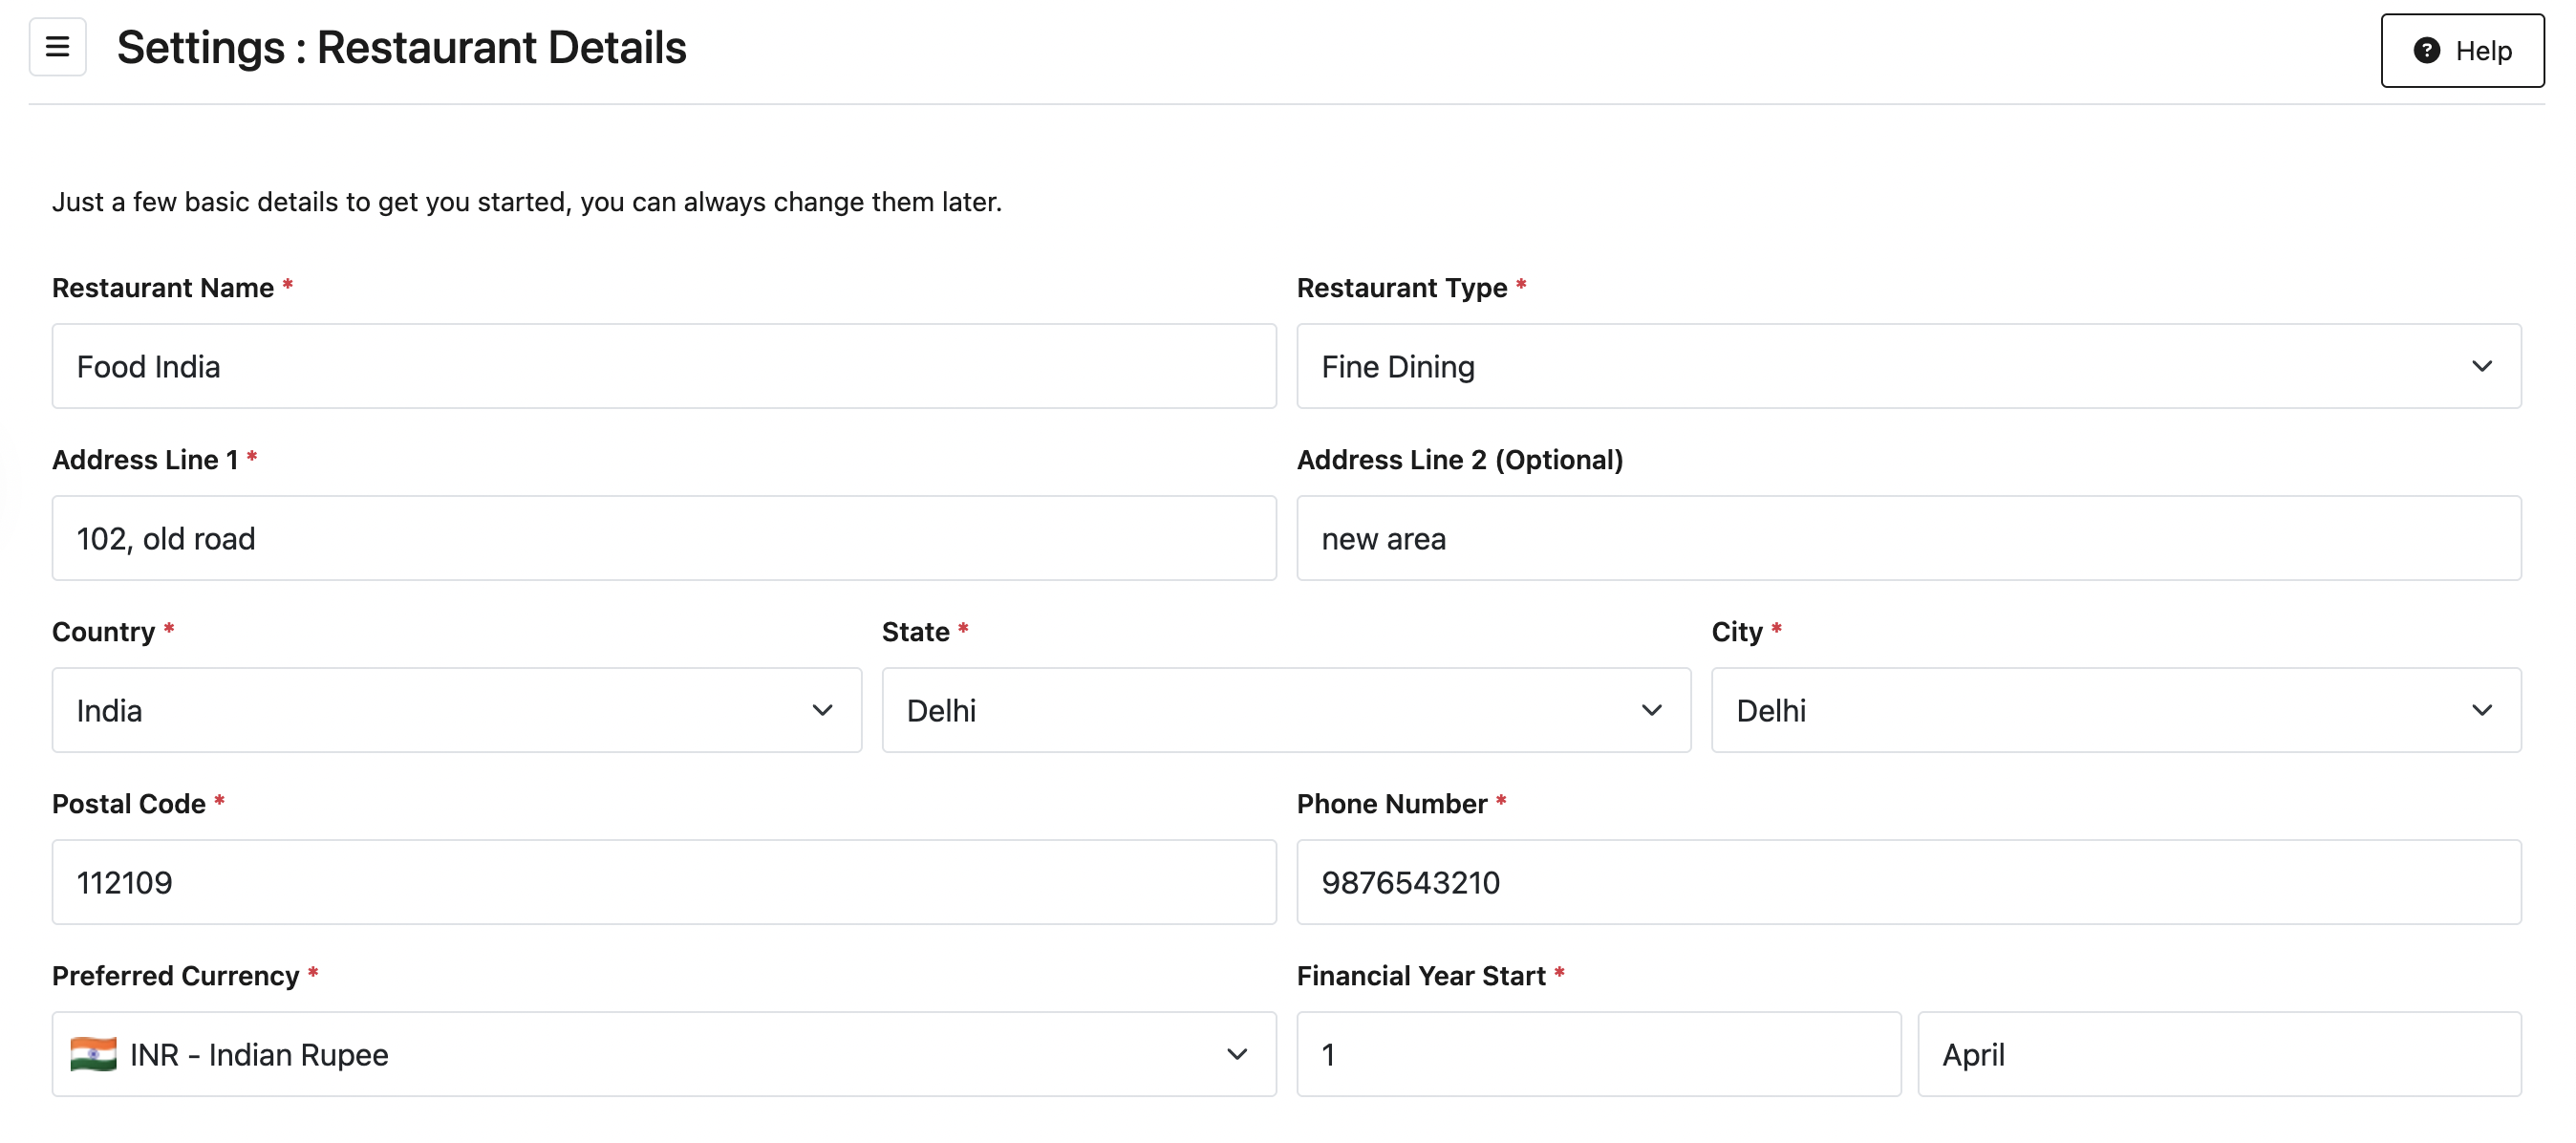
Restaurant Name, Type, Address, Country, State, City, Postal Code: Fill in your basic business details.
Phone Number: Enter a working contact number.
Preferred Currency: Choose the currency used for billing.
Financial Year Start: Select the month your financial year begins.
Tax Information
You will see fields to add:
Tax Name: For example, GST or Service Tax.
Percentage (%): Enter the value for the tax.
Click Add Tax to add multiple taxes if required.
Registration Information
You will see fields to add:
Registration Name: For example, FSSAI or License No.
Registration Number: Enter the actual number.
Click Add More to add multiple registrations.
Hours
Configure the days and times your restaurant is open.
Check a Day: Marks the restaurant as open.
Uncheck a Day: Marks the restaurant as closed.
Start Time and End Time: Set specific hours for each open day.

Tables
This section is used to design and update your table layout.

Add Floors (Zones/Sections)
Click Add/Edit Zone to create zones such as Ground, First Floor, or Outdoor. Each zone helps you organize tables by location.
Add Tables
For each floor or zone, add tables and specify the number of people each can seat. Each floor must have at least one table.
Menu
This section lets you create and edit your digital menu so staff can take orders easily.
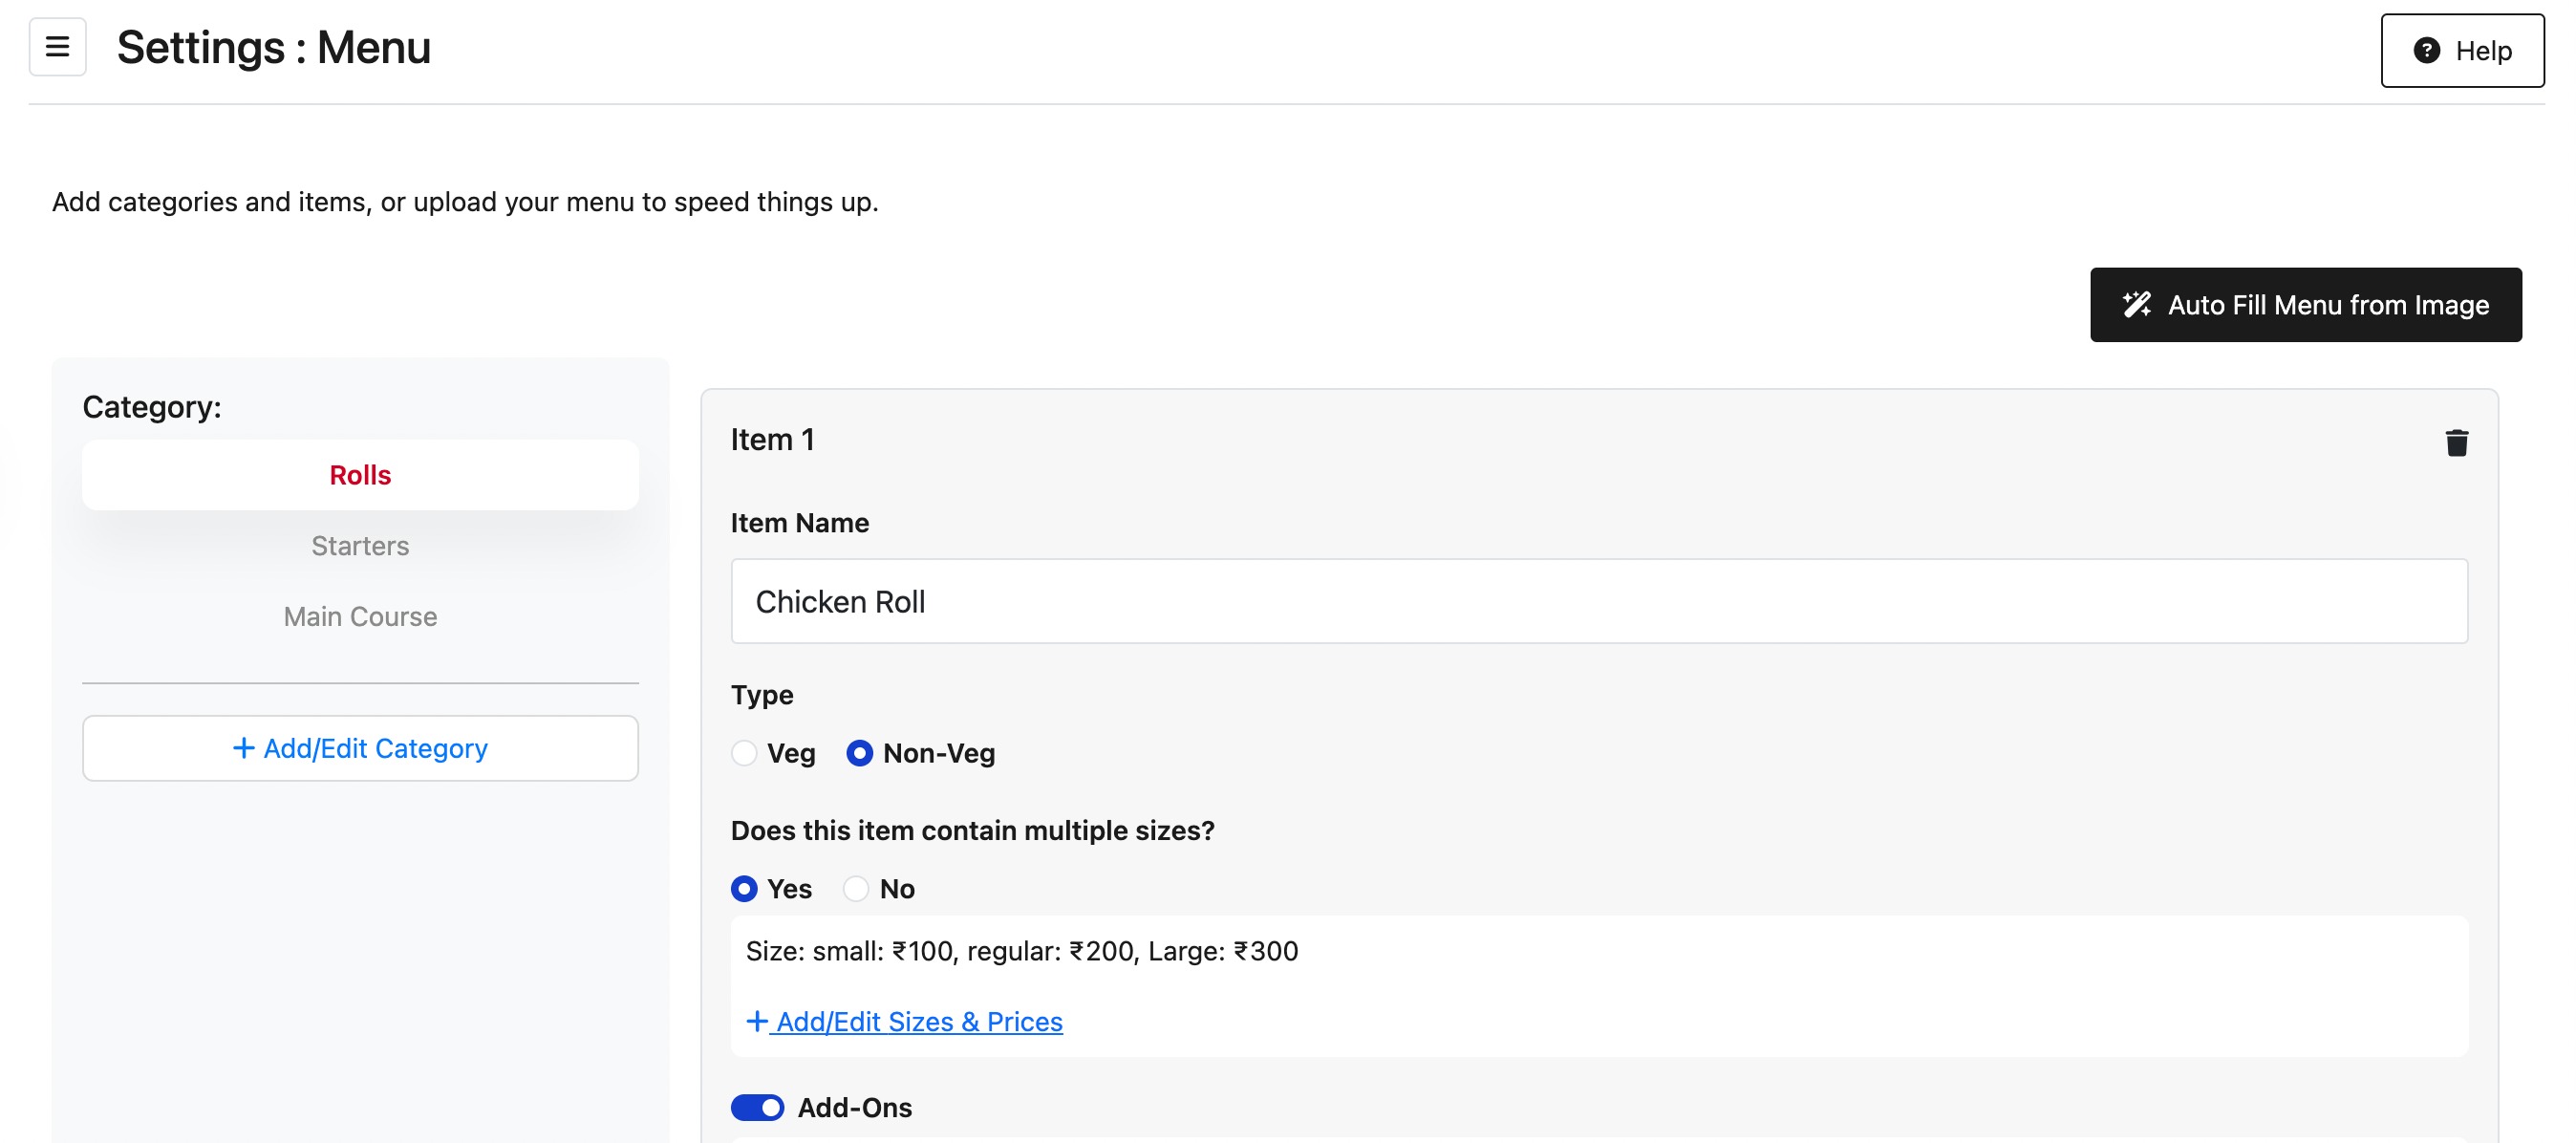
Add Categories
Click Add/Edit Category to create menu sections such as Starters, Main Course, or Drinks.
Add Items
For each category, add menu items. Enter the item name, select Veg/Non-Veg, and set a price.
Add Sizes
If items have different sizes, click Add/Edit Sizes & Prices to add multiple size options such as Small, Medium, and Large with separate prices.
Add Add-ons
Click Add/Edit Add-ons to include options like sauces, toppings, or sides.
Auto-Fill Menu from Image
Use the Auto Fill Menu from Image option if you want to upload your existing menu.
Upload a menu image (JPG/PNG).
Click Start Scanning.
Review and edit detected categories.
Verify detected items and prices.
Confirm and save.
Important: Auto-fill is in beta. Carefully verify every item and price before saving.
Other Settings
Currently, this section contains: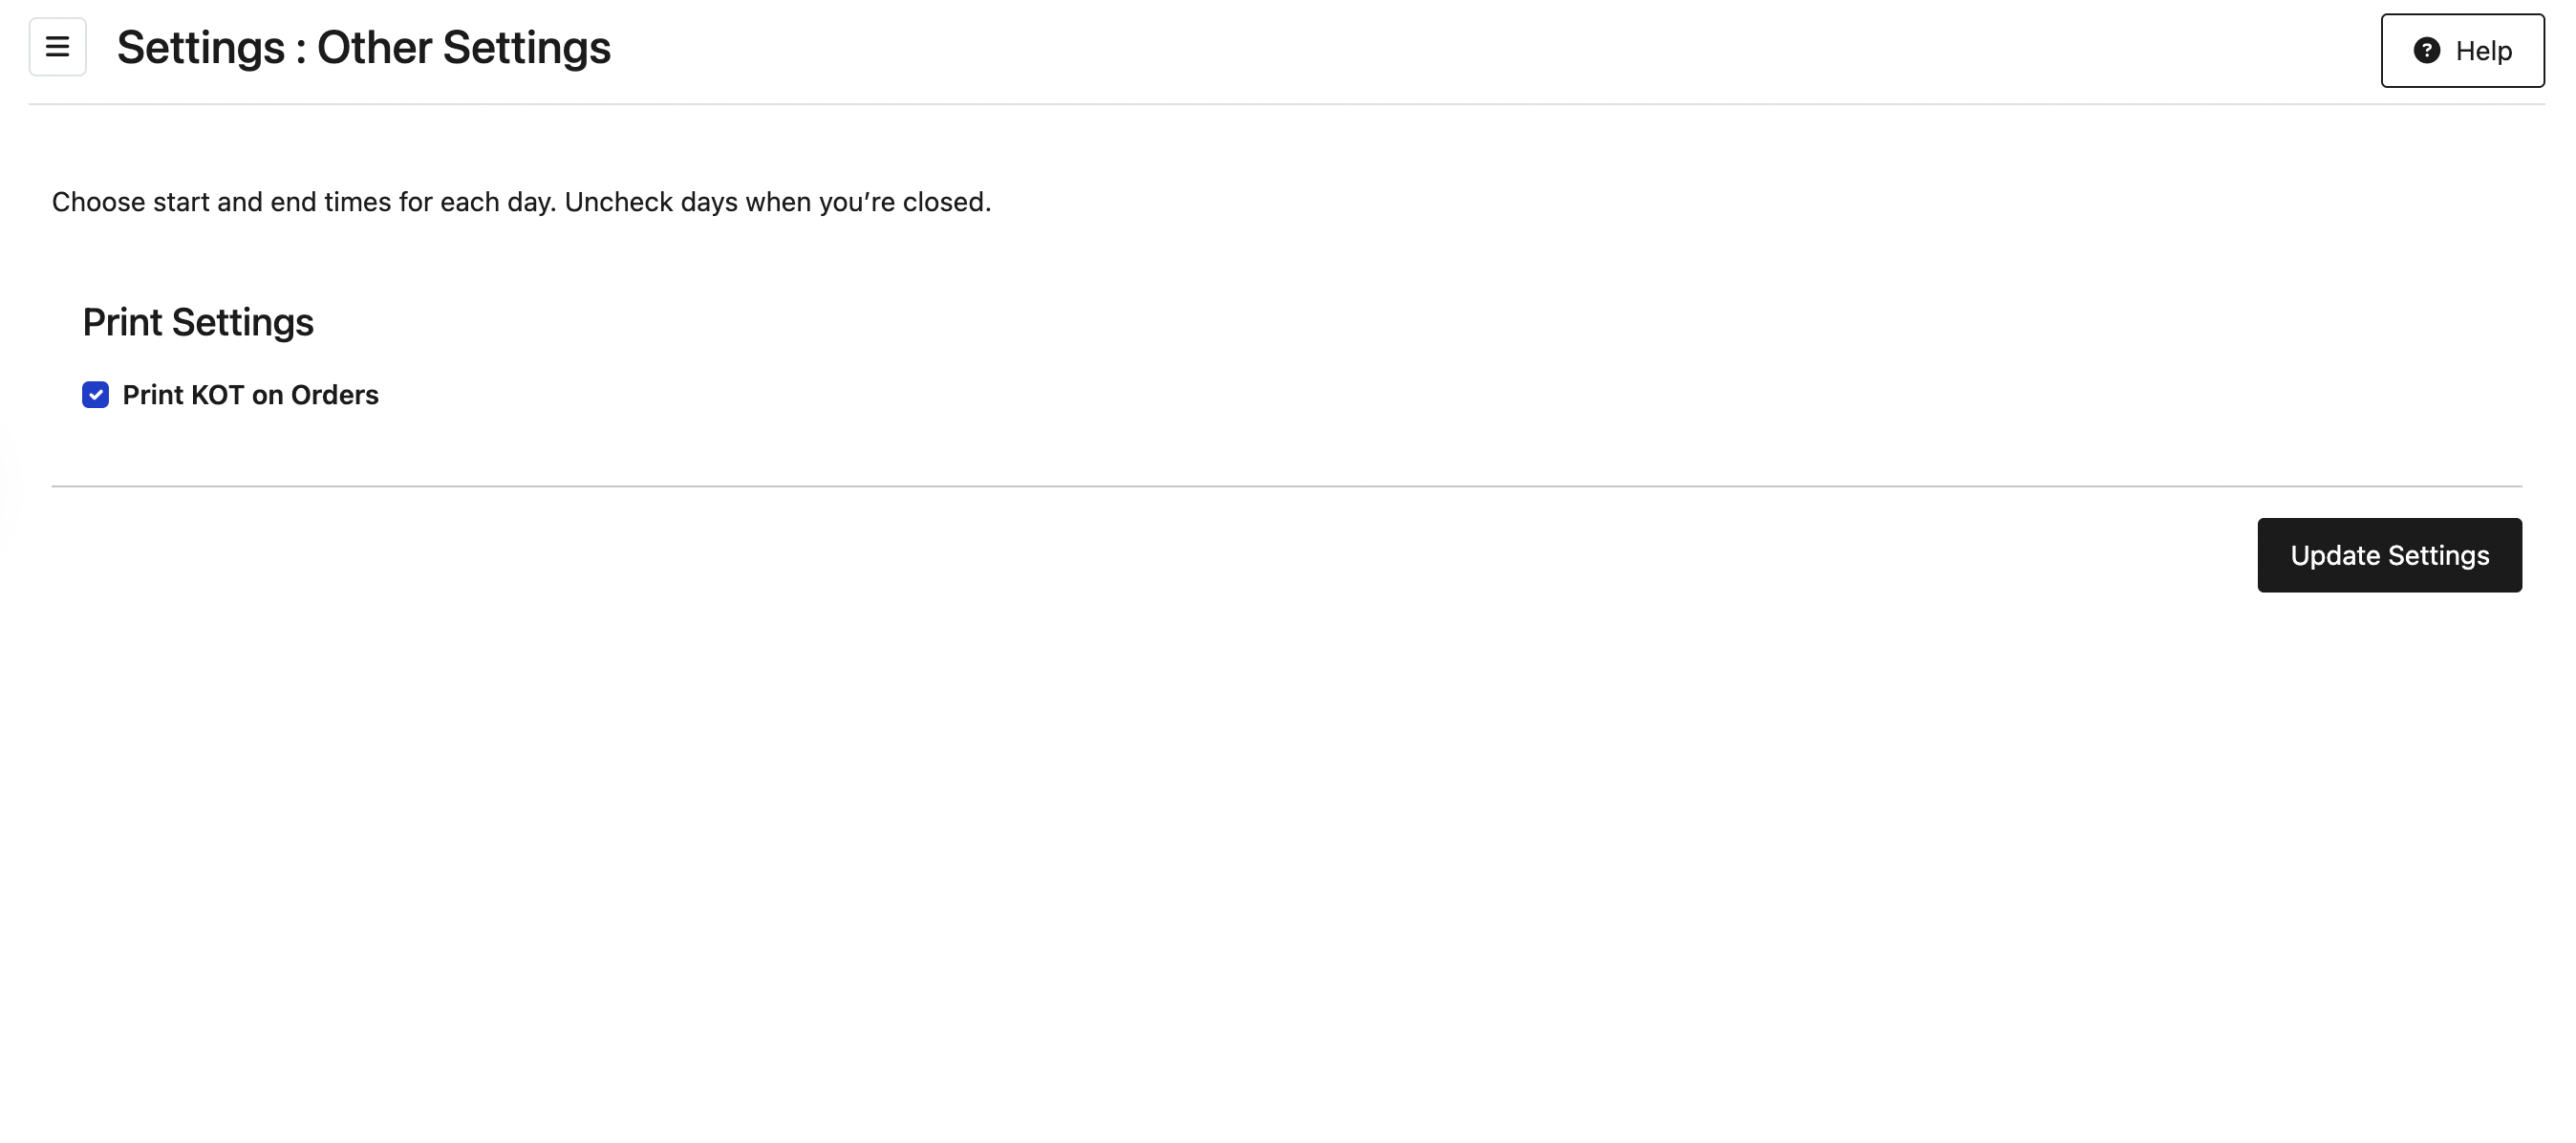
Print Settings: Enable or disable “Print KOT on Orders.”
Was this article helpful?
That’s Great!
Thank you for your feedback
Sorry! We couldn't be helpful
Thank you for your feedback
Feedback sent
We appreciate your effort and will try to fix the article